Kaltura Media Gallery - Adding Content & Sharing a Video within a Course
Adding content to a course Media Gallery is fairly straightforward, particularly if you have already uploaded your video to your personal Media Gallery or an assignment.
- To begin, scroll down until you find the Kaltura Media Gallery block located in the left-hand column:
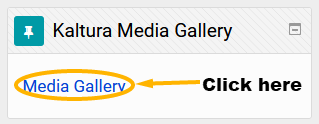
- Once you have found it, click on the Media Gallery link. The Media Gallery is where you will add your video and view videos shared by your classmates.
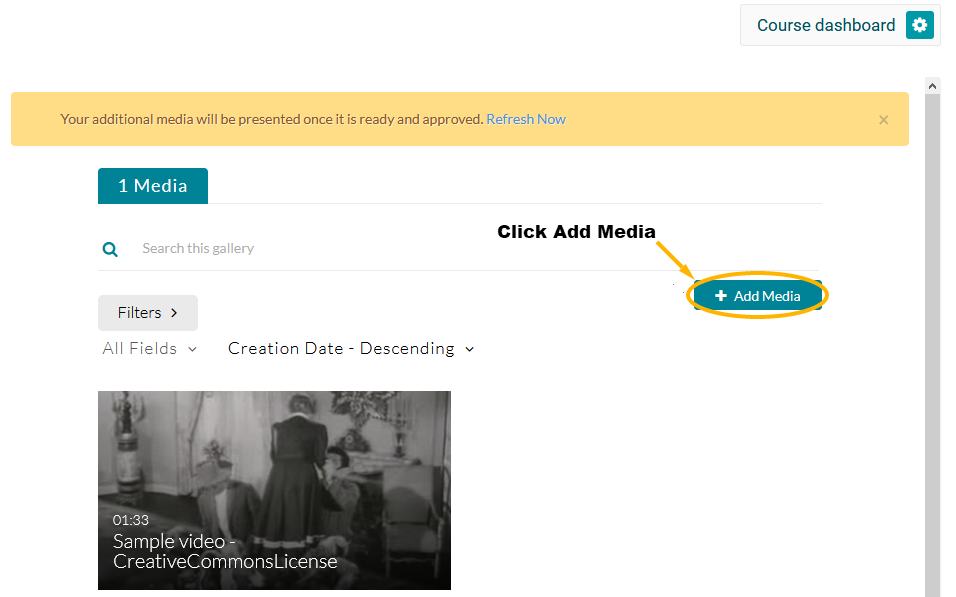
- To add a video, click the Add Media button:
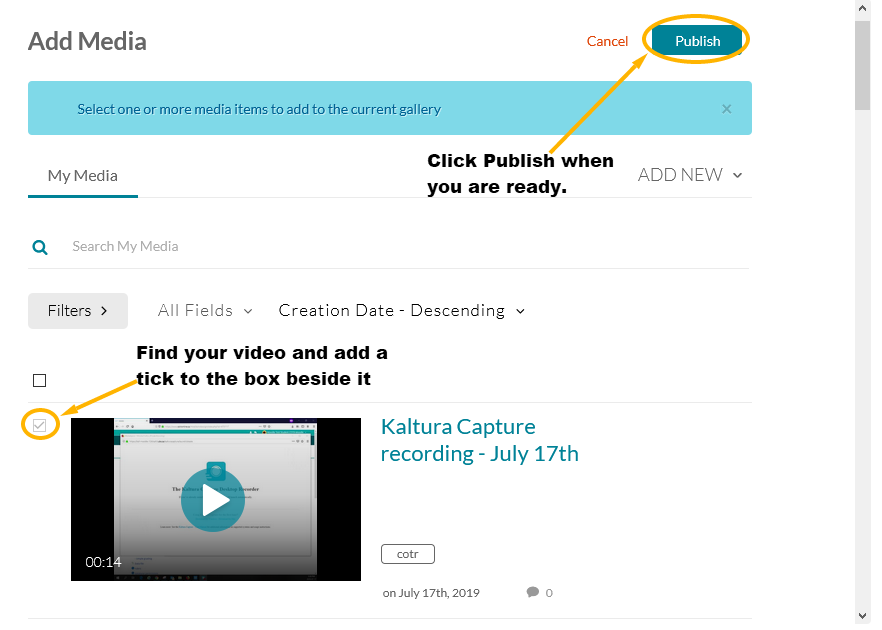
- This will take you to your personal media list. Find the video you wish to add to the course Media Gallery and tick the box beside it. You can select and add multiple videos at this step.
- When you are ready, click the Publish button:
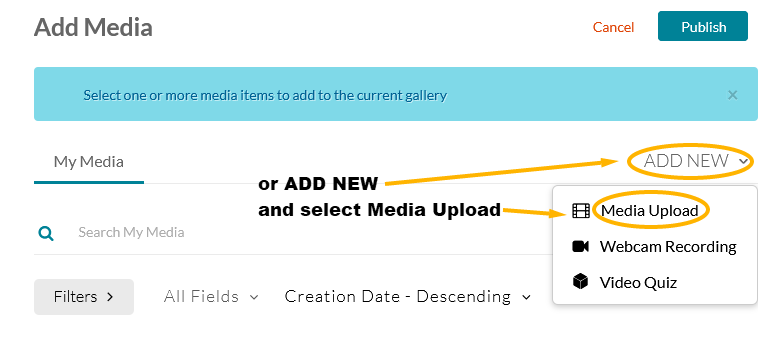
- This is also where you can add a new video file if you haven't already uploaded it into your personal Media Gallery (or forgot to include your name in the video title).
- To upload a file, click the Add New and select the Media Upload option from the drop-down menu.
- Full directions for uploading a file can be found here (steps 6 through 13).
- If you have been successful in adding your video to the course Media Gallery, you will get a message on a green background that says All Media Was Published Successfully.
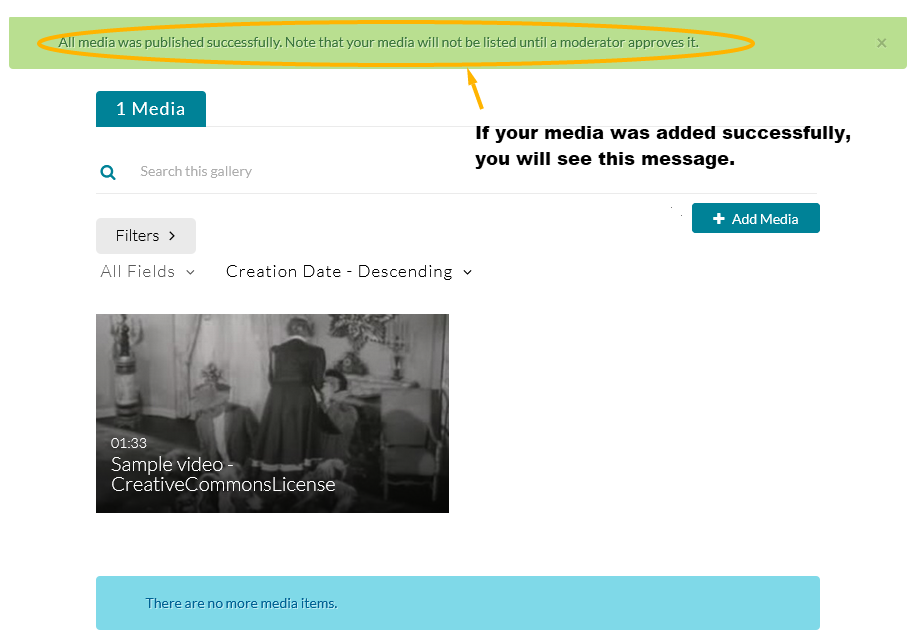
- The final step is for your instructor to approve your video and make it visible to the entire class.
If you need help at any point, please contact the COTROnline Help Desk; contact information and hours can be found at the bottom of the page.
Last modified: Wednesday, 17 February 2021, 12:13 PM